Impleum VPS GigaCloud Cloud server can be ordered by the link:
https://my.gigacloud.ua/?cmd=cart&action=add&id=148

On this page there is no need to select a server configuration, it is already selected under the name VM-2-Impleum*.
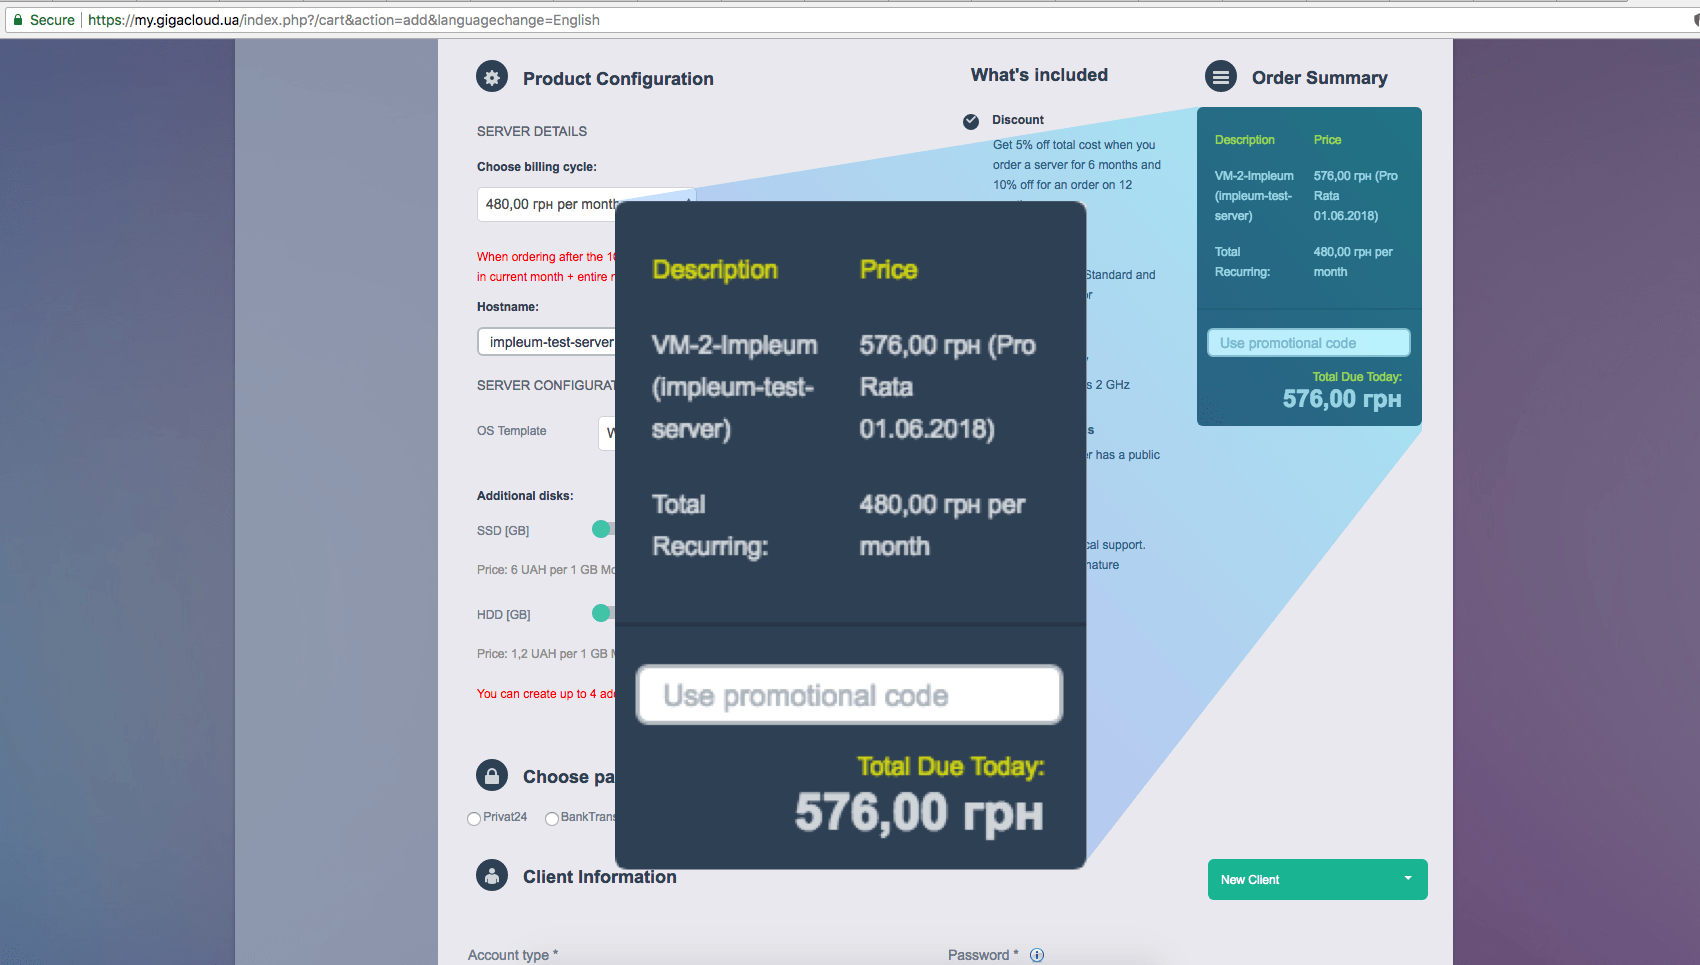
*When ordering after the 10th day of month you will be charged for remaining days in current month + entire next month.
Scroll down on the page and enter the hostname of your new server.
 enter Client information and accept Terms of service:
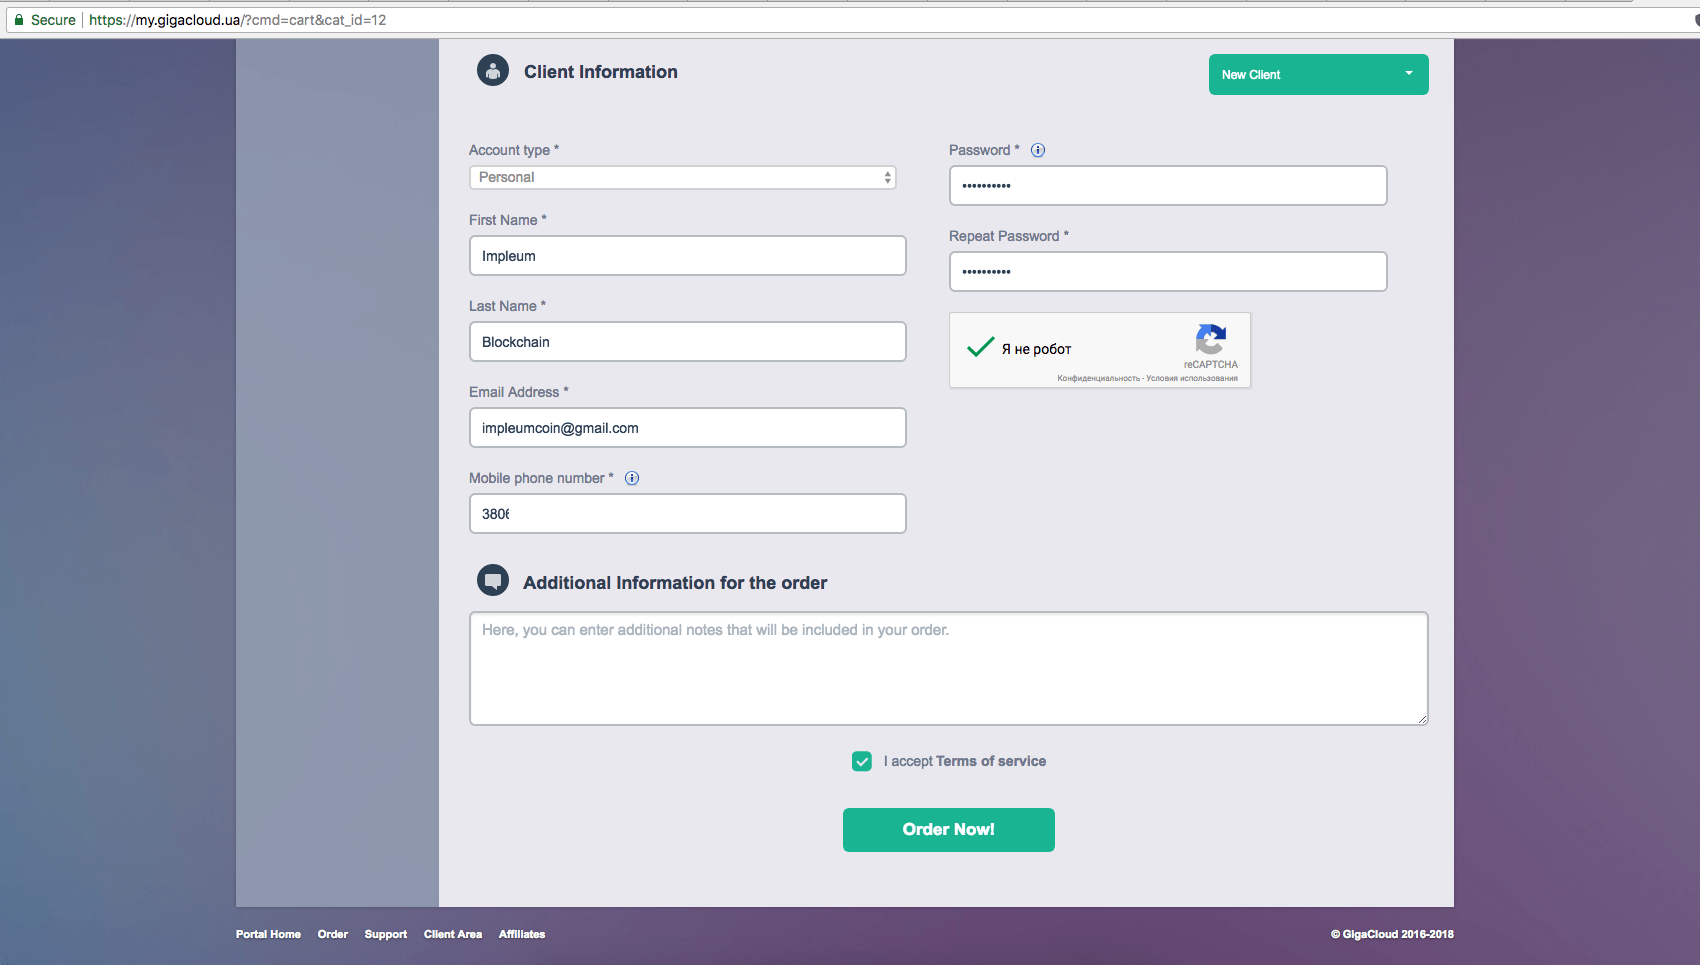
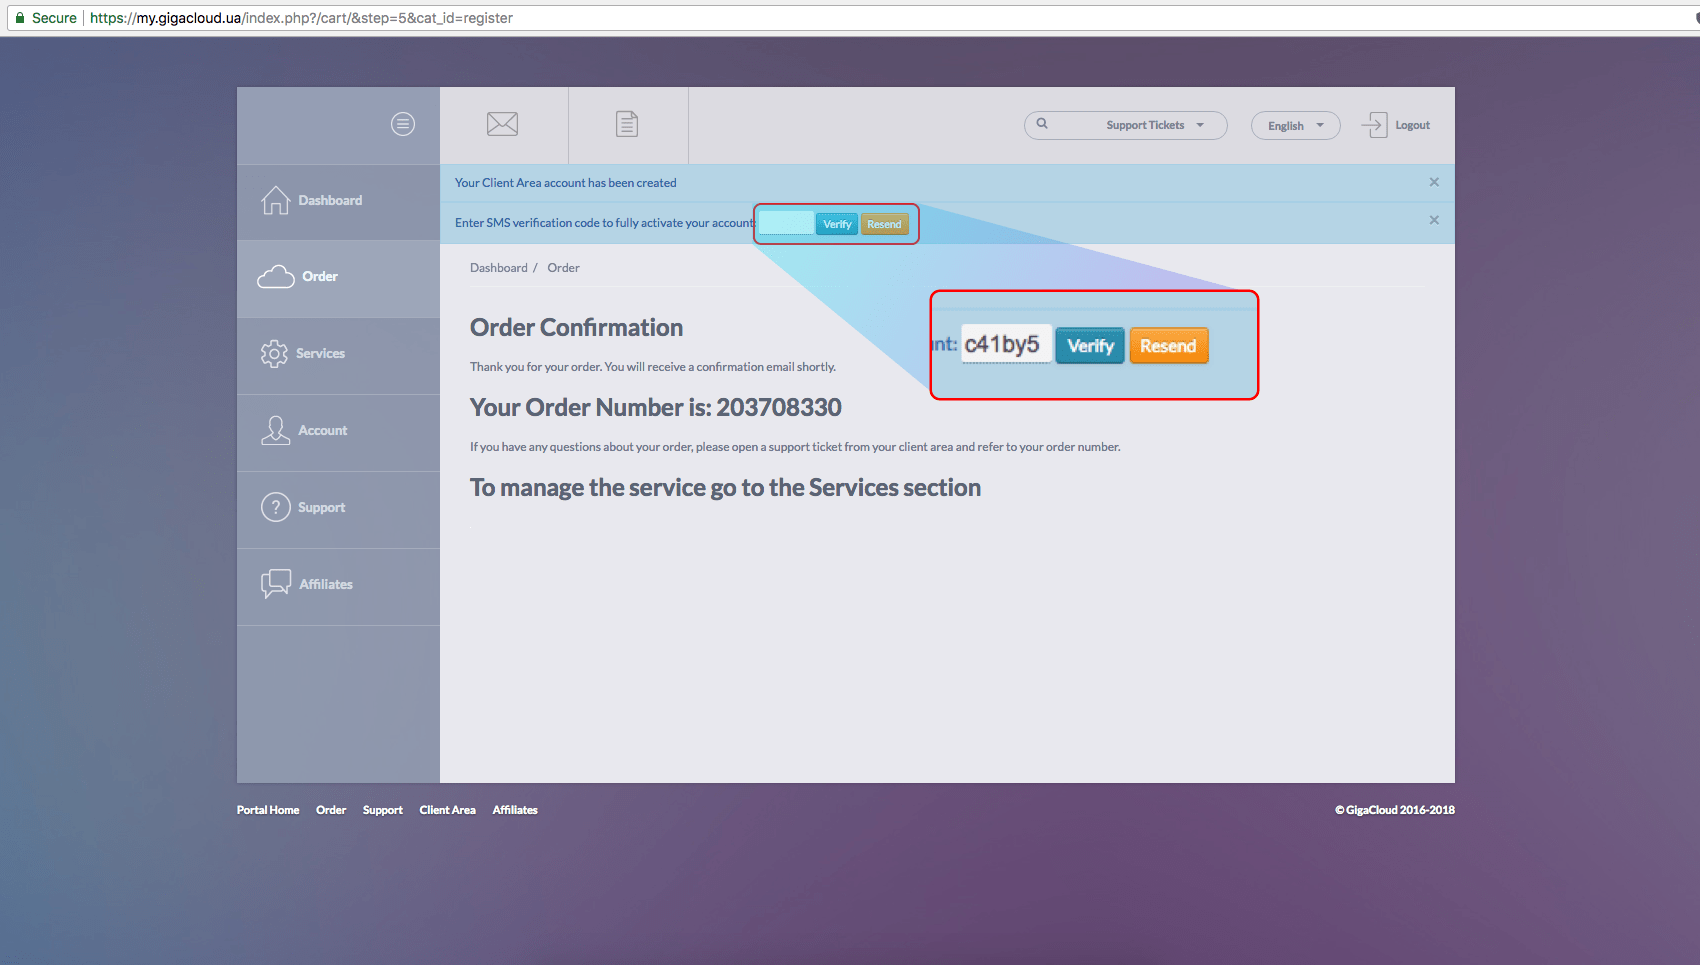
Make payment
In the “order” window, confirm your phone number
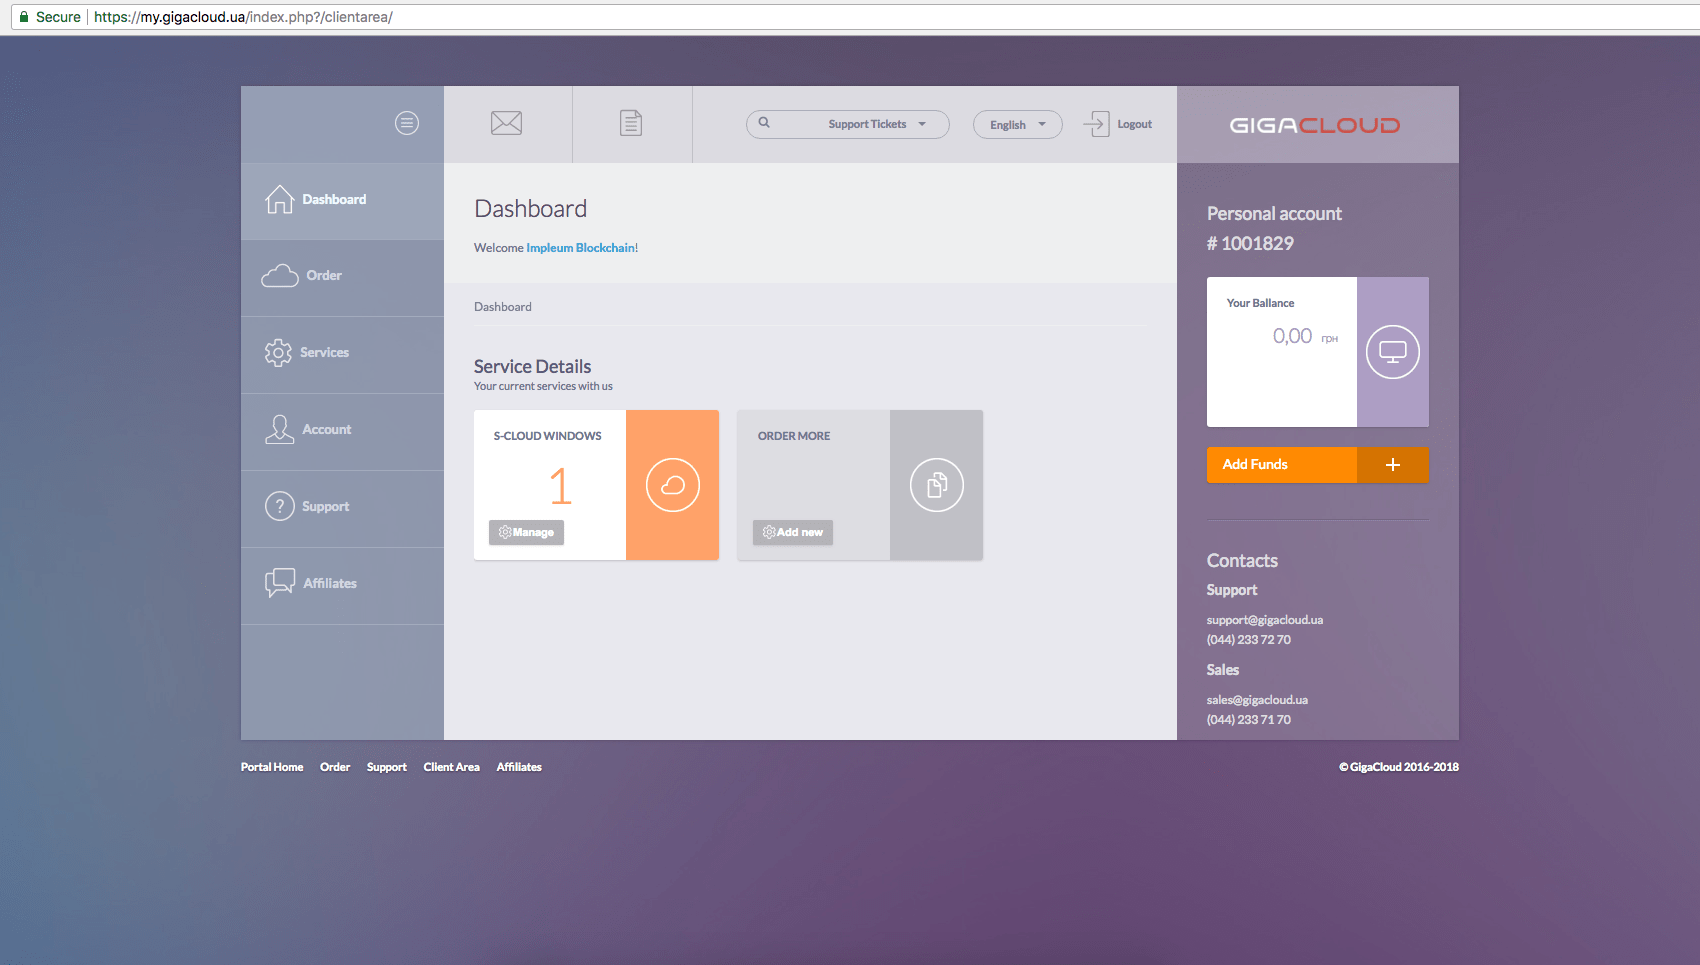
 Move to Dashboard
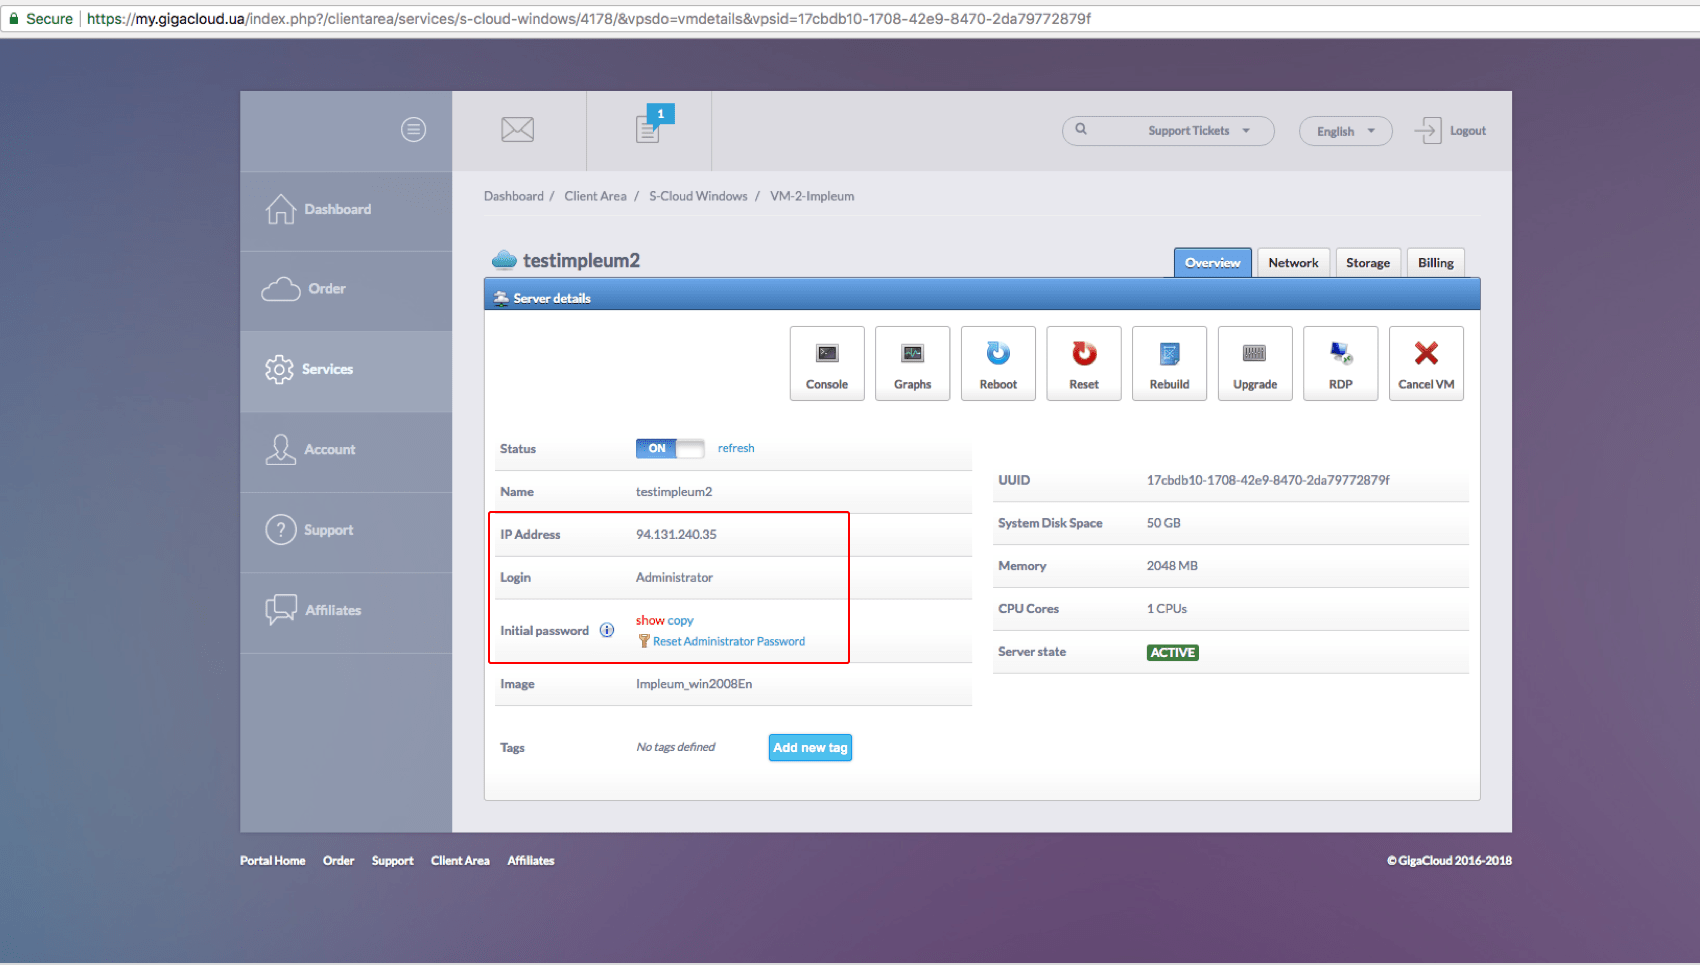
After payment, you can proceed to manage the virtual server – from the main page or from the “Services” section: by clicking on a specific service, you will go to the Control Panel, where the information about each of the virtual servers is displayed in the table.
Proceed to manage VPS
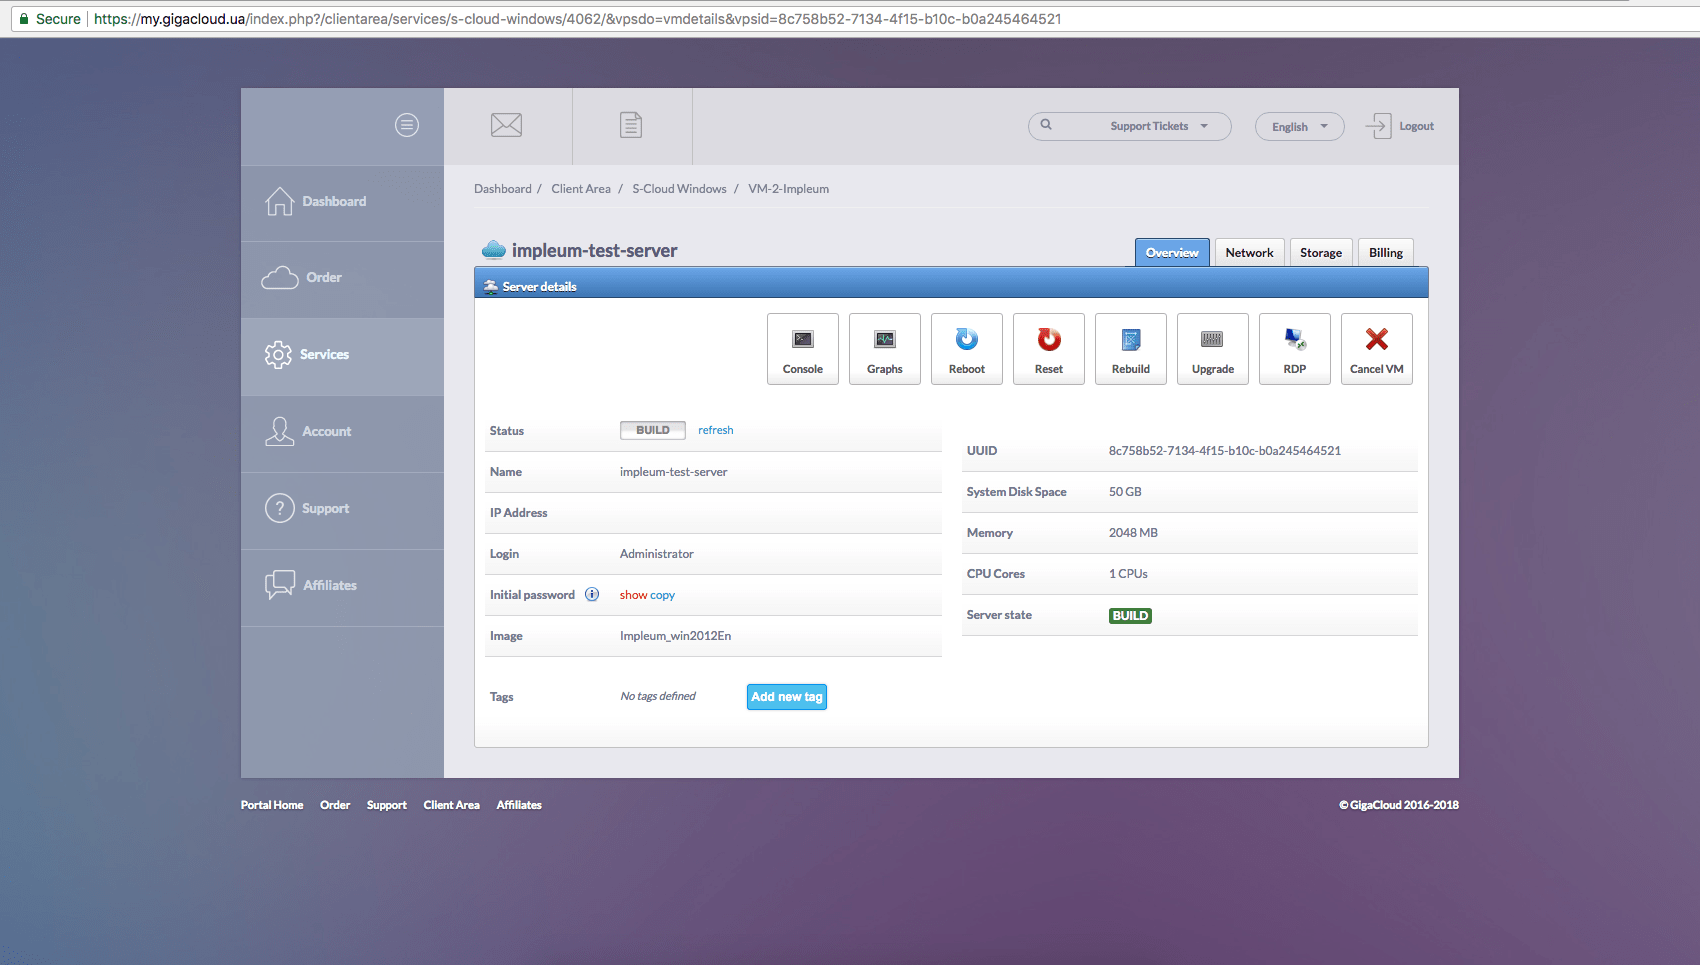
Click on the server name to proceed to manage it. During the first logon to the server control panel, the system generates a random password that you can modify yourself.

Select S-cloud Windows and open it. Start generating server settings.

Wait for the completion of spawning
After you click the “Continue” button, the procedure for creating a virtual server will start. After a few seconds it will be created, and you will receive redirects to its control panel.

The Overview tab displays the main information about the virtual server. Also on this page you can:
- Turn Off / Enable Power – the “Status” row;
- See the password with which the server was installed – the “Primary administrator password” graph, the “Show” link;
- Reset password – “Initial Administrator Password” column, “Reset Root User Password” link;
WARNING! After resetting the password, the new password will be displayed once at the top of the page, but will not be saved in the billing system.
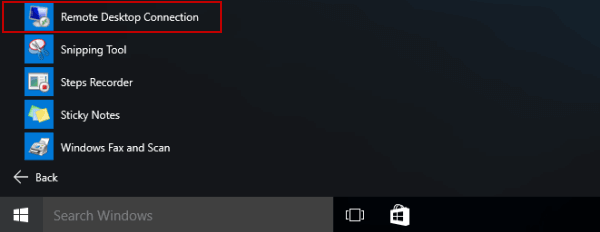
After completing the configuration download RDP
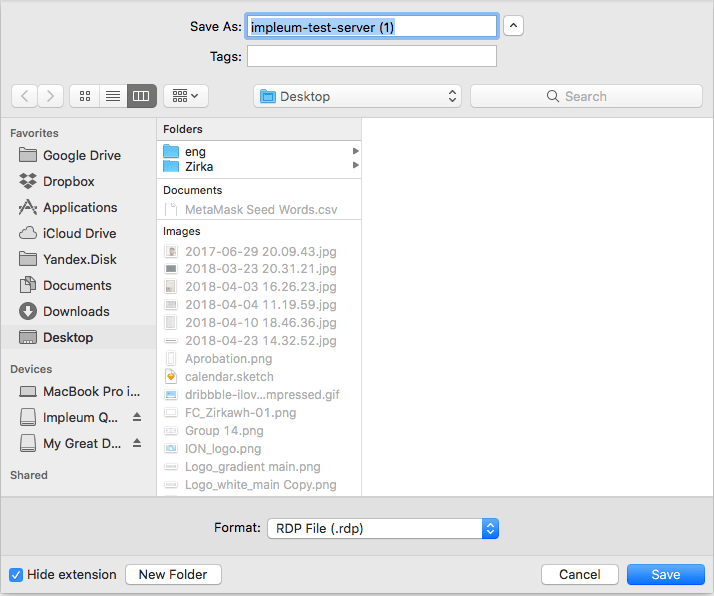
For Windows:
Download and run the file. Aafter entering IP, login and password, which you can take in the control panel of the server.
Click Start button, then choose Remote Desktop Connection.
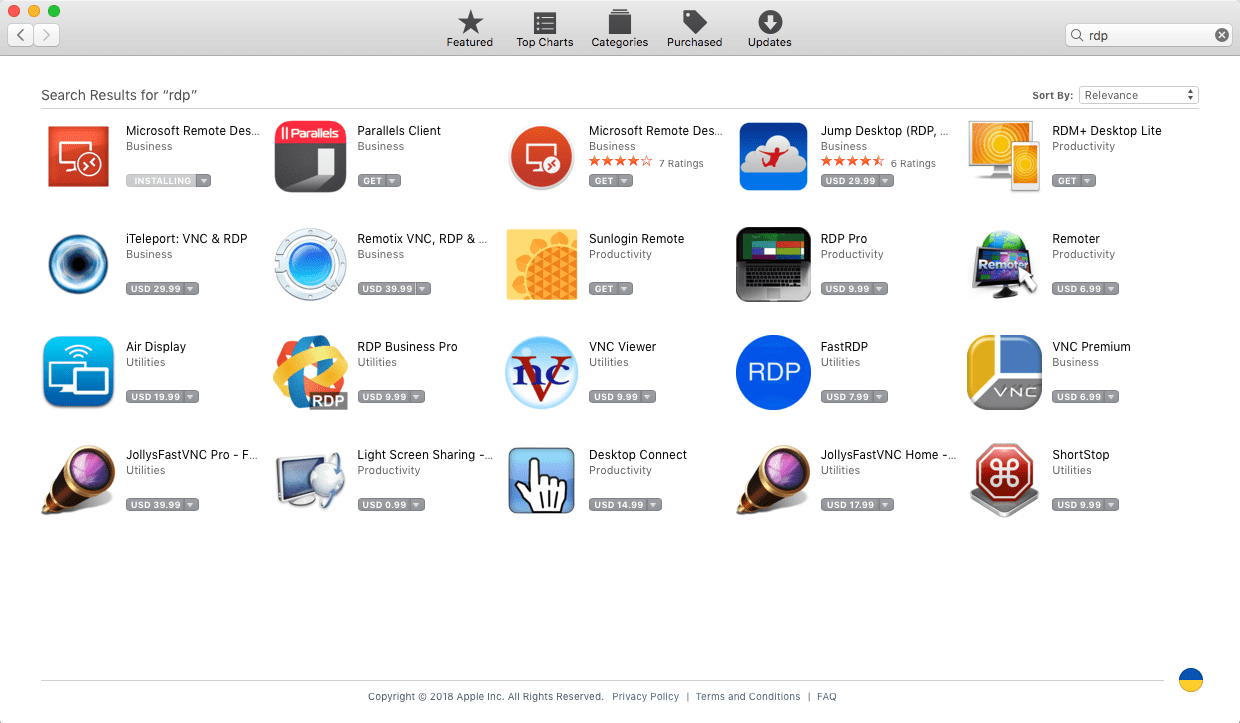
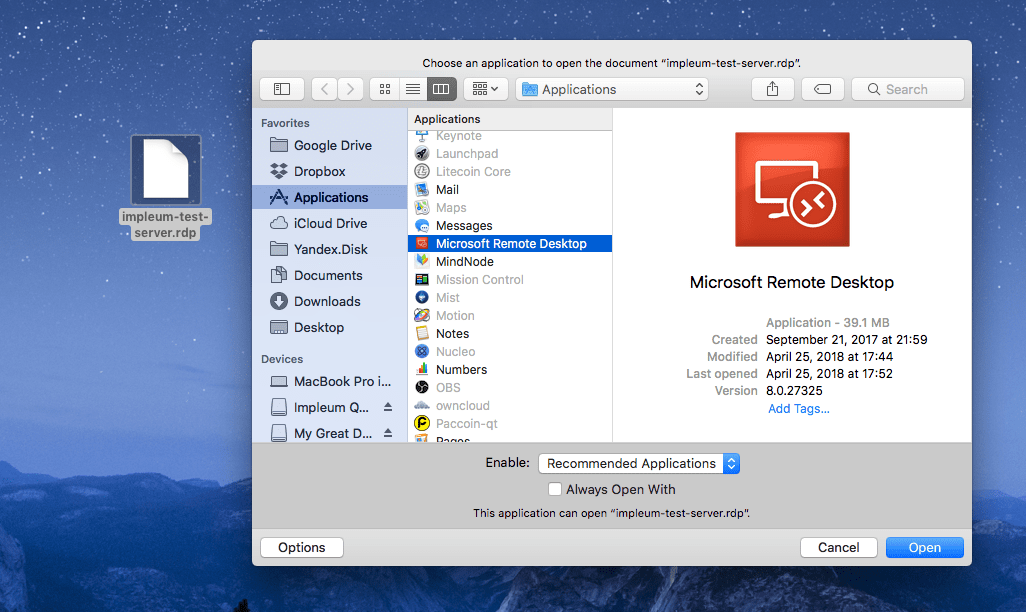
For Mac:
Use Microsoft Remote Desktop
Open the RCP file using Microsoft Remote Desktop
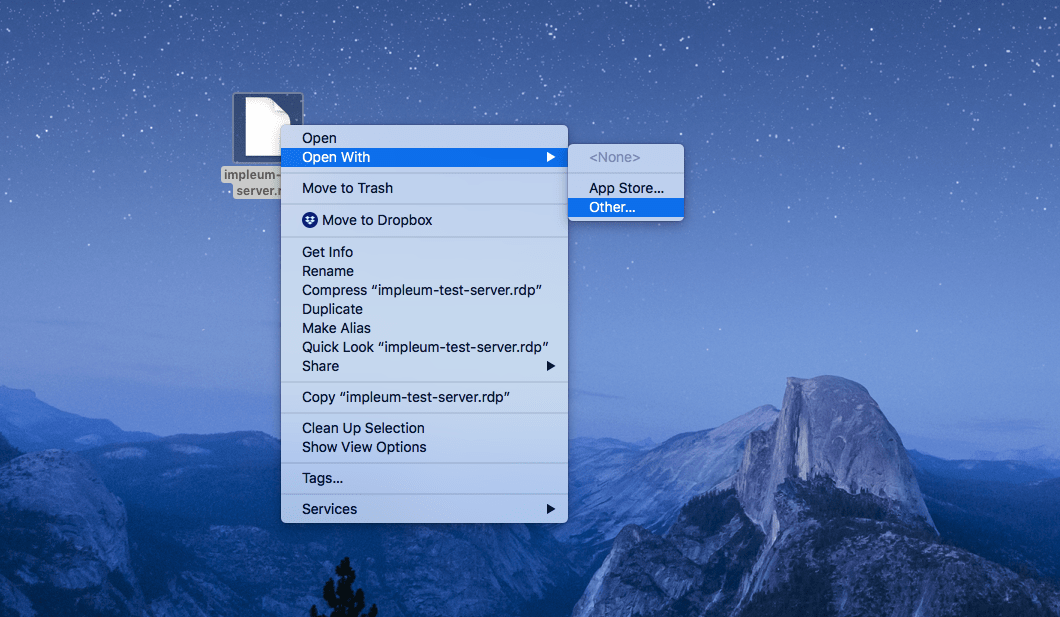
Enter IP, Login, Pass, which you can take in the control panel of the server:
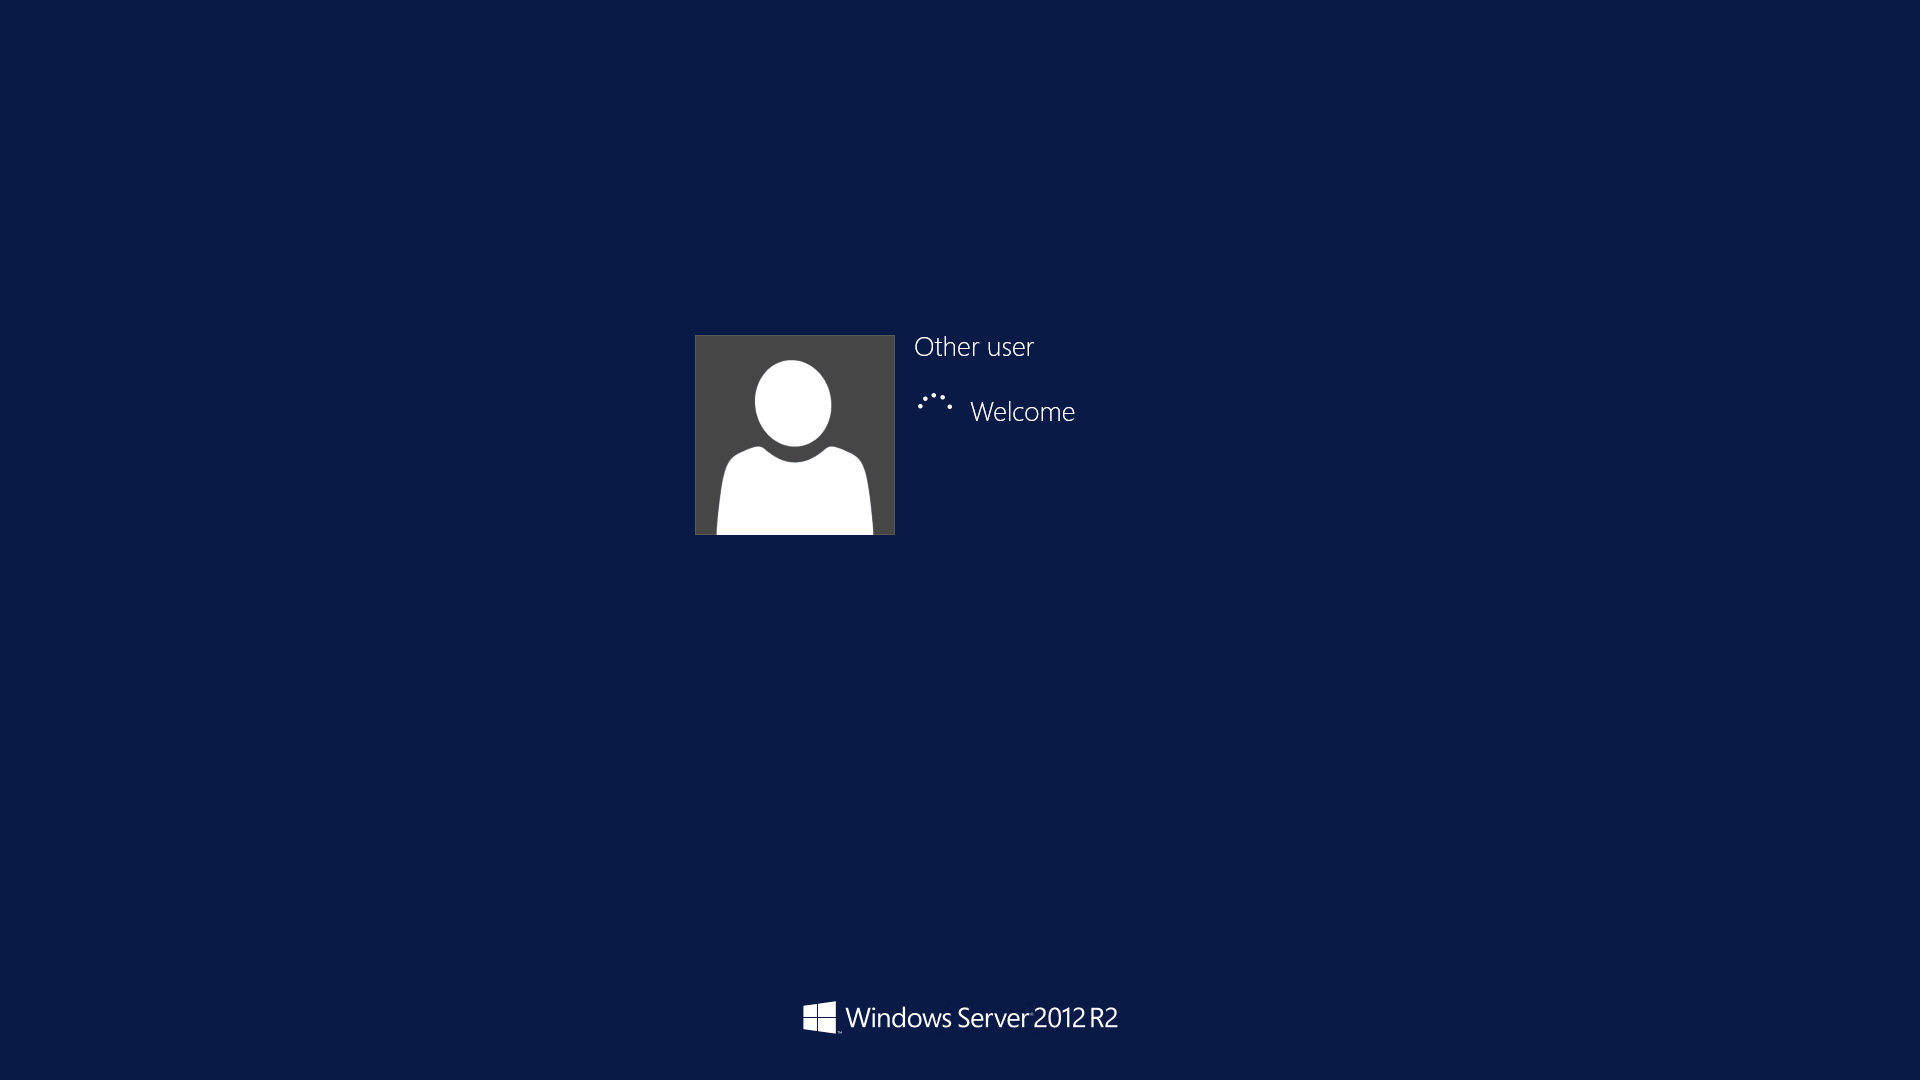
The server will boot.
After booting the server, you will see the desktop.

Impleum wallet will open automatically and begin to synchronize with the network.
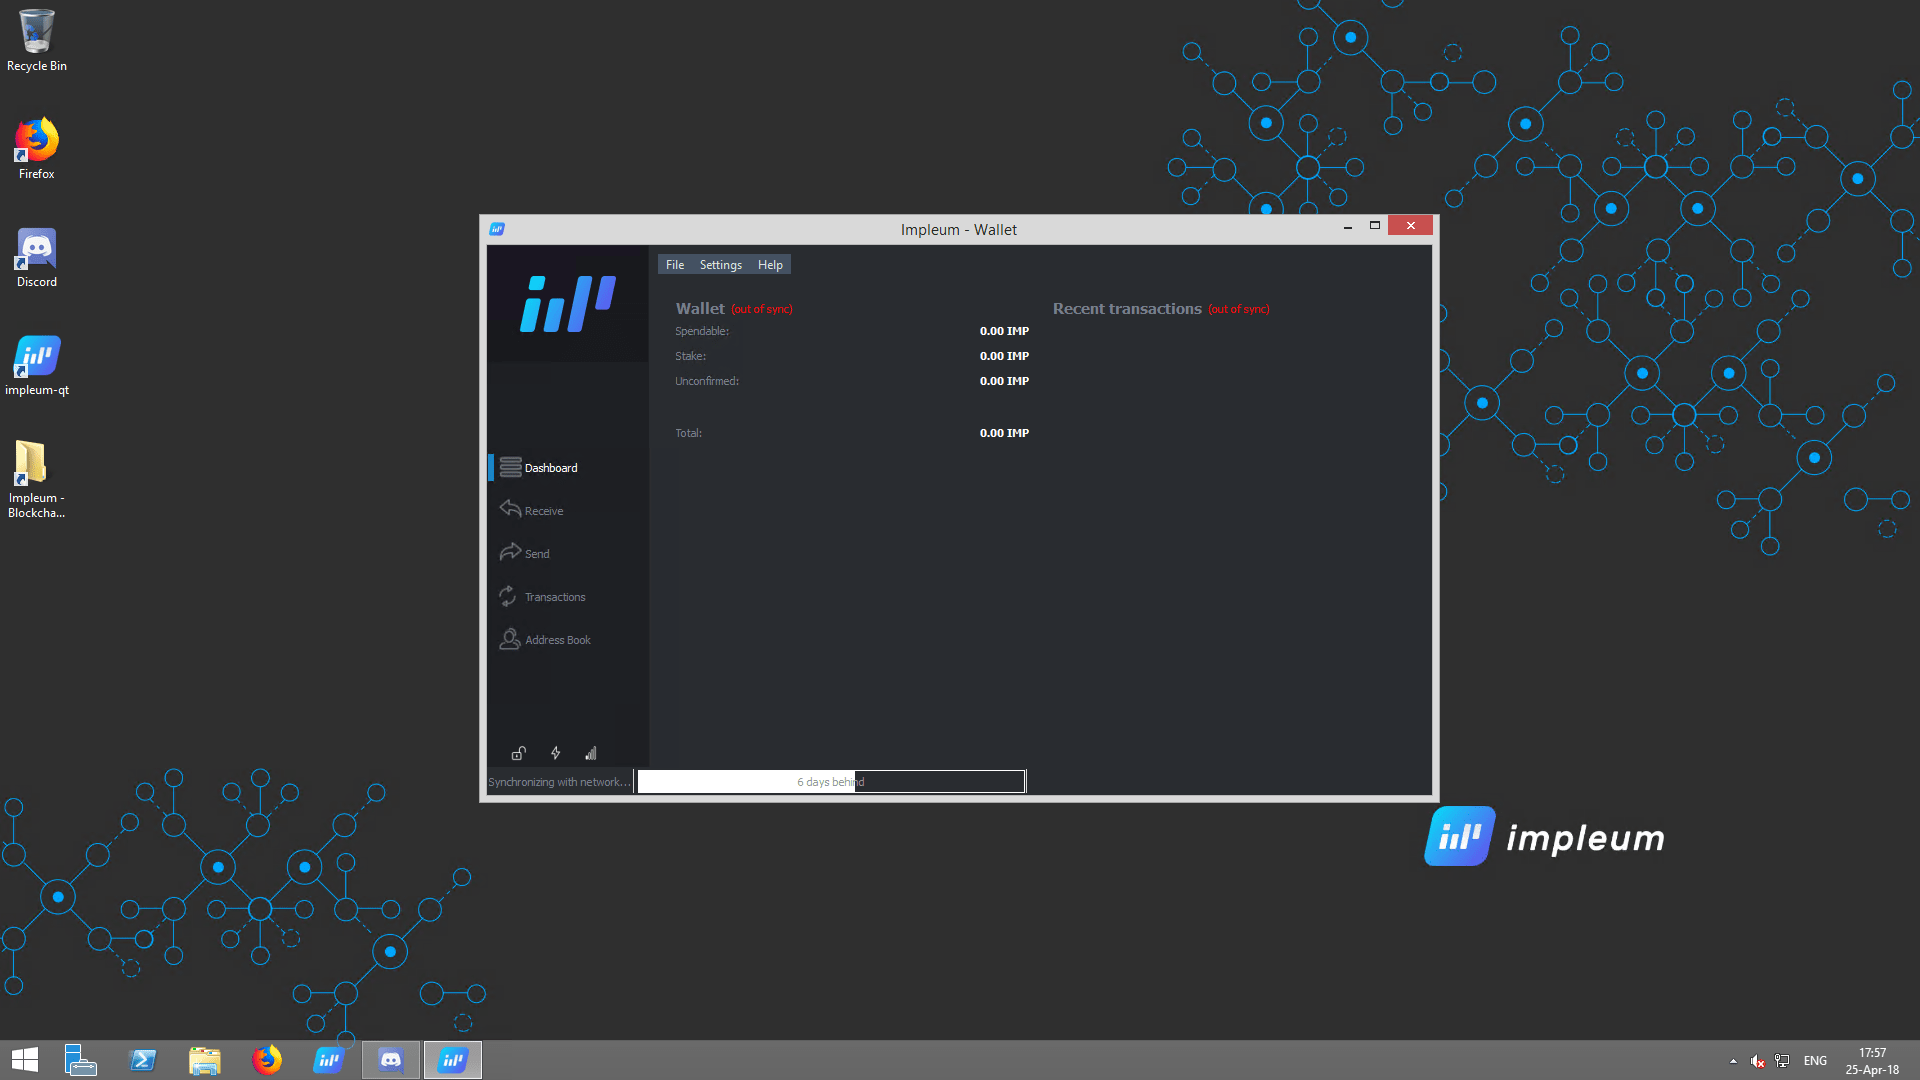
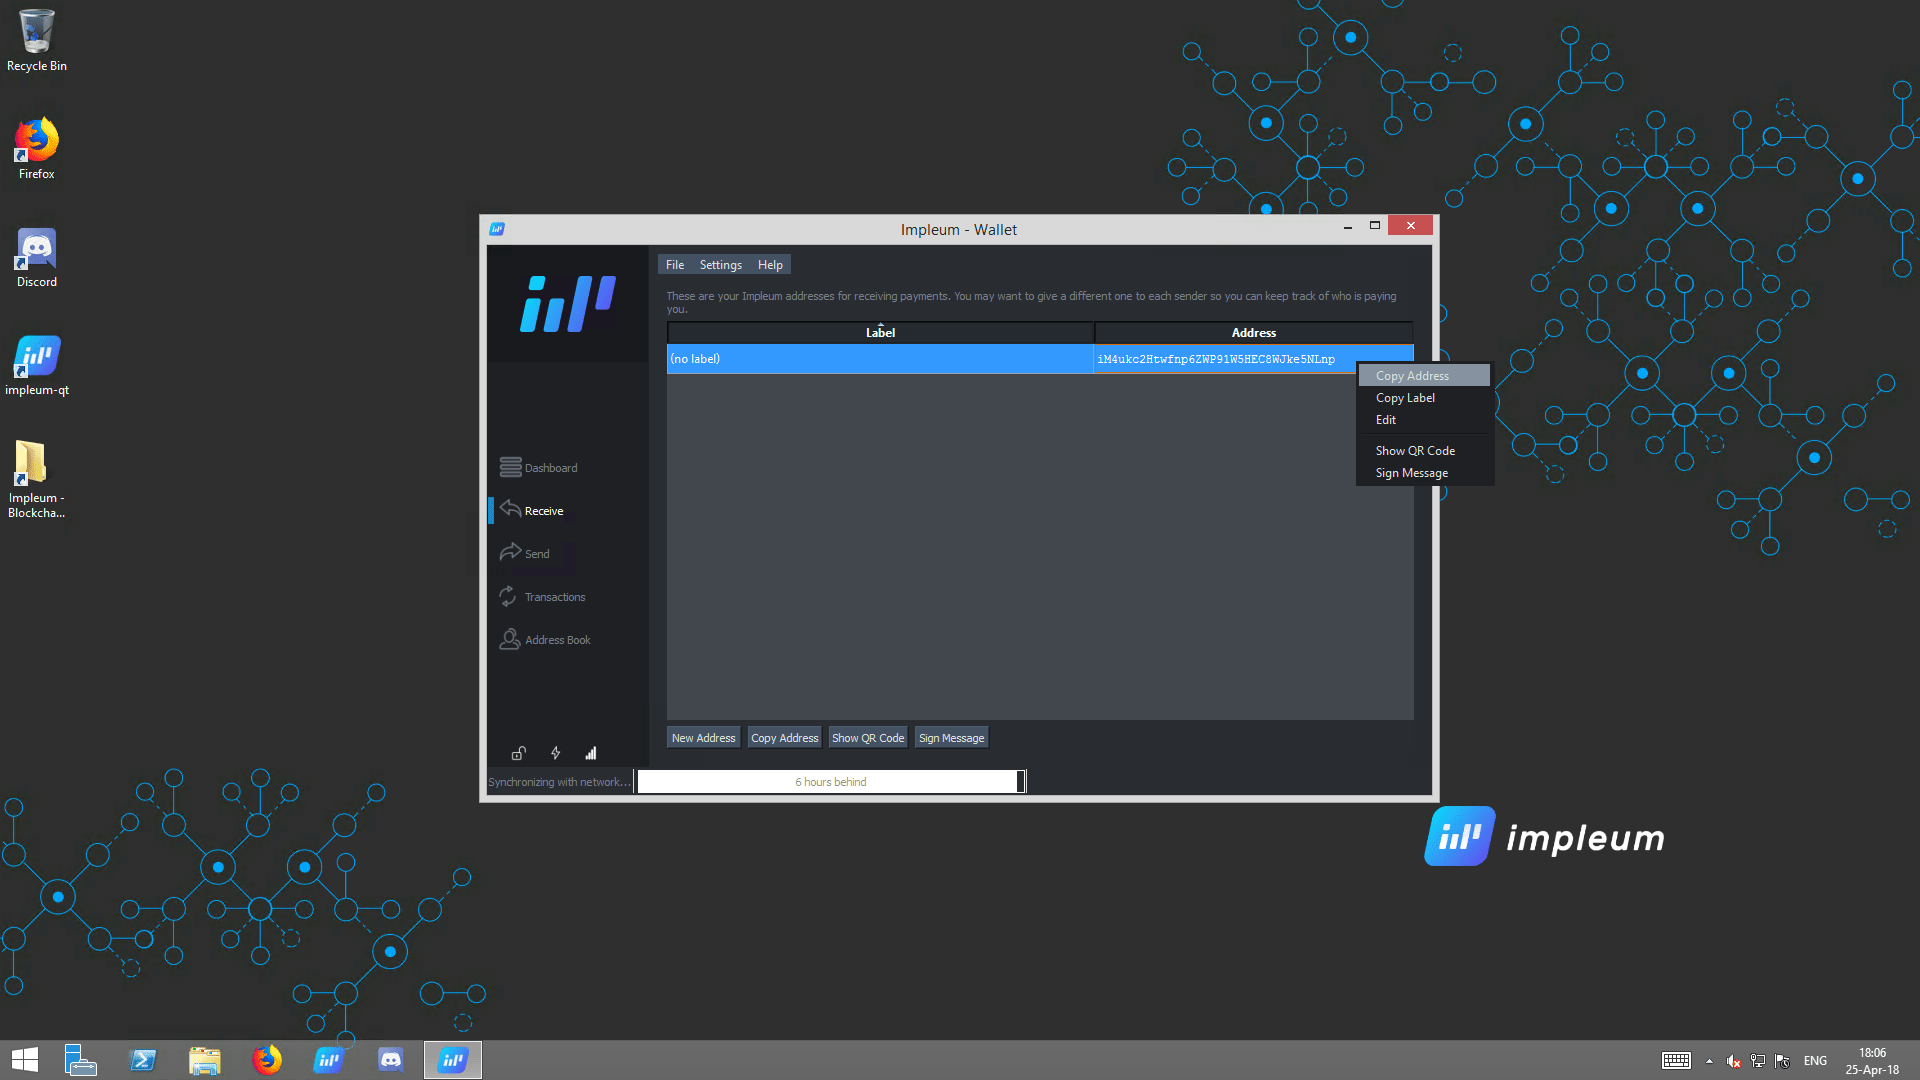
After the synchronization is completed, you can use your wallet.
Enjoy it with pleasure! Buy some IMP for the start!